
Step by step guide to install your A.R.T. expansion joint
- Ensure the void for the Expansion Joint is clear of debris and obstructions. The void should be a minimum of 12mm, max 20mm wide.
- Cut A.R.T Expansion Joint to correct length using tin snips or light angle grinder. Check that the rubber hasn’t been compressed during this cutting process.
- Place A.R.T Expansion Joint in the void. Use a level to ensure the A.R.T Joint is level.
- Use stainless steel staples to secure the A.R.T Expansion Joint to the wall. Alternatively use foam adhesive if unable to use stainless steel staples due to the kind of substrate eg brick.
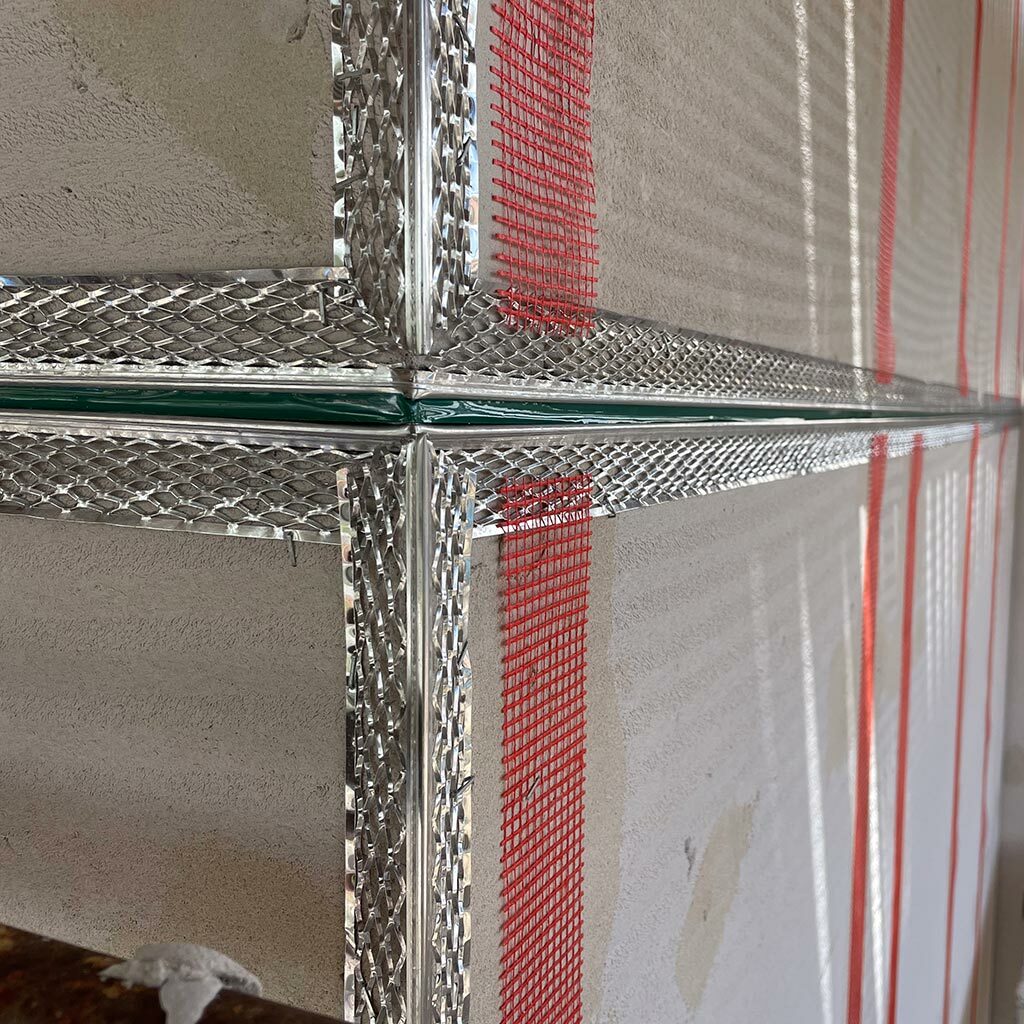
- Use weather proof sealant where ART joints intersect/join.
- To complete the installation apply base coat ensuring that render penetrates and covers the winged render lock.